
HappyDay: ‘Round Pole Timber Construction’
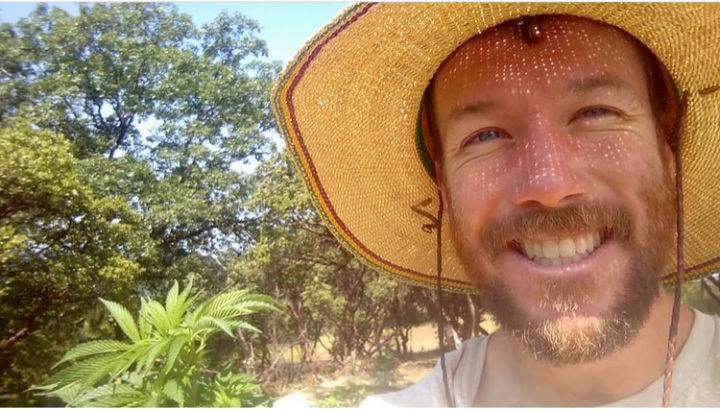
Casey O’Neill is a cannabis and food farmer in Mendocino County who has been writing newsletters about his efforts to provide sustainable produce and marijuana. We feature his column once a week.
I’m excited about round pole timber construction. With the cost of lumber what it is these days we can’t afford to do much stick frame building, but young fir trees grow fast and need thinning to prevent them choking out the venerable oaks and madrones on the back side of the ranch. Our friends at Polecrafts have been doing this type of construction for many years, but I hadn’t ever keyed in to the process until recently.
Peeling the bark off the poles is so satisfying and simple when the sap is running like it is this time of year. A basic pry bar or crowbar wedged into the edge of the log slides easily down the trunk cutting a grove through the bark and down to the wood. Then it’s just a matter of wiggling the bar in between to separate the rest of the bark. It doesn’t take long before a clean, beautiful pole emerges.
Colin came to show us his technique, noting that it’s better to store the poles up off the ground in a shady space to let them cure so that they don’t develop cracks and splits from drying too fast. I’m infatuated with being able to harvest timber in such a simple way, and I love that it helps the health of the forest by removing overstocked trees that are impacting habitat and drawing thirstily from the water table.
Over a couple of weeks we found time to fall and process poles, taking down a dozen or so younger firs with lengths of 40’-50’. The size and length of the usable pieces vary, but we were shooting for two 20’ beams, two 10’ beams, 8 solid posts and a number of rafters of 12’ length. There is quite a bit of variation between the different pieces, and I’m coming to realize that timber selection is one of the most important parts of the process.
We’ve started building a 10’x30’ pole barn to make some shelter and a wind break in the Hobbit field at the ranch. On Friday we sunk four posts, burning their ends with our big flame weeding torch before putting them into the ground to slow down rot. Yesterday I used the tractor to place a 20’ and a 10’ beam on top of the posts, linking them together with 6” timberlock screws.
Today we’ll set the other four posts for the opposite side of the structure, place the beams and install angle bracing to keep everything solid. We’ll begin adding rafters that span the gap between the two beams so that we can cover it, probably with tarps and/or shadecloth until we can find the time to attach metal roofing that we’ve acquired and saved for this purpose. The goal is for it to serve as a covered place with outdoor kitchen function and gathering spot.
I adore the puzzle of it all, from setting a straight line of posts with variable widths, to making sure the top is level after attaching a beam that narrows over its length. Both lengths of main beam are 30’, but I didn’t feel comfortable working with timber that long so we’re splicing a 20’ and a 10’ but offsetting them on either side of the structure. After I used string and a level to cut the tops of the posts to the same height, I notched the beams so that their tops would match where the two ends met on the second post.
Using the tractor to lift it, I set the 10’ beam, anchoring it down so that the notch split the second post and sat flat. We used the biggest post to sit under the place where the beams came together to create more space for attaching and solidity. With the first beam in place, I finished notching the longer beam for where it would sit on each of the three posts. The skinny end of the beam was an inch thinner than the notches, and I cut the last post an inch higher than the others to make up for it.
There was plenty of head scratching and thinking, trying to account for the variation in the lumber and the general puzzle of construction, and I found myself relishing the effort. The long beam had a crown to it (it was bowed instead of being perfectly straight), so when I finally set it with the tractor after futzing with it I realized that it wouldn’t sit down flat on the second post but stuck up about an inch. I shimmed it with a short chunk of post that I had cut off but wasn’t thrilled with the bowed look of the result. I checked with Colin and he suggested using a heavy ratchet strap to pull the beam down flat and then anchor it. My Uncle also suggested that I could just cut the beam so it drops flat onto the post and then attach the ends together just like with the other ten foot section of beam.
I love being in a community of people who work with their hands, and being able to seek advice and have it shared freely. I love the camaraderie of building, the feeling of seeing the results after a day of labor, of making something appear that wasn’t there before. I’m excited to get back to work on the structure today, seeing this as a learning process and accepting the inevitability of mistakes. It’s practice for the much bigger job of retrofitting the 100+ year old barn that has been hanging over us, and I’m realizing more deeply that it takes time to develop skills and that there are many pieces to the puzzle of life as a farmer. As always, much love and great success to you on your journey!
Join the discussion! For rules visit: https://kymkemp.com/commenting-rules
Comments system how-to: https://wpdiscuz.com/community/postid/10599/
photos please!
“burning their ends with our big flame weeding torch before putting them into the ground to slow down rot.”
LOL. That will burn away some bad juju, but if you are building a beautiful structure that you want to last more than five years, pour concrete footings with steel brackets and use some sway bracing.
The Old-Timers used creosote, motor oil and kerosene to soak their posts to get their “100 year old barn” footings. But that is highly toxic and not recommended.
Build it right and you won’t have to cry when it falls down in a few years. I love pole barns.
Absolutely correct, for poles in wet soil last about 5-7 years, however using concrete blocks with metal ties increases the cured poles life into 2-3 decades easily, it’s a complete payoff to get the poles out of the ground and onto concrete blocks Ernie, I would love to see Casey include more photos and video of his many very cool projects on the Hill Farm. I always loved the area out Bell Springs and Island Mountain Road, gorgeous country out that way and some very affordable land if you can afford the gas to get out there! I used to own 180 acres on the Eel out Island Mountain, gorgeous secluded piece of land, so many old Wailaki Villages out that area listed in Habitat of the Wailaki Book, I found meadows covered in Arrow Heads and worked stones. Gorgeous!